Day 10384

Quick update on a few background projects;

When I had the electrical cabinet pulled out in the bus, I took the opportunity to build a much-needed shelf into it. The shelf will provide me with more storage, a place to set the radio so that I can close up the exposed wiring in the cockpit, and more vertical wall space to hang a calendar or pictures (the bus is lacking in wall-space.)

I had set aside two nicer maple boards a few months ago, so I grabbed them an trimmed them to fit. This wasn't exactly easy; finding "level" on a bus parked on a slope, with a sloped floor, and a curved roof presented some challenges. I ended up using a triangle square to just make the sides of the shelf perpendicular to the table it was over, then measured the location of the shelf from there so that the shelf was square.


To lock in the shelf to the walls, I routed the wood with multiple passes over a tablesaw, adjusting the cut by 1/8" with every pass to carve out a 3/4" wide groove. With a small wood chisel I cleaned up the cut. The wood is slightly warped toward the heart it was cut from, which helps keep pressure in the cut, keeping the shelf tight.

The side walls were trimmed down to match the roof contour with eyeball, jigsaw and sandpaper. "Good enough."


It ended up coming out alright. The bracing of the shelf actually makes the cabinet a bit more sturdy. The whole assembly is held to the bus by 5 sheetmetal screws, making it easy to remove in only a few minutes if I need to have clear access to the electrical panel. Work is not done; I'm going to add a bit of backing to the shelf, and I ought to stain it or paint it. I'd like another shelf like this in the back of the bus, as well.


Today I cranked the little Case 444 over, and brought it into the main barn for a good going-over. Being up at the property this past weekend, I realized the need for this handy little machine, it's beat-up mower deck, and 3 point hitch with back-drag blade. It has been sitting in a state of disrepair, bordering on neglect. The tires are all soft. The gas is old (it still started!) The engine oil needs changing. The hydraulics leak from a few spots. These things should be remedied before I bring it up North.


It's hard to work under, as low to the ground as it is, so I used my dad's tractor's loader to heft the front end onto a bench. Much better.


I rummaged through the confined hydraulic lines in the frame, trying to find the source of the leak. What I thought was leaking (the big "OUT" line B-nut coming out of the valve) turned out to be fine; the return line from the mid-frame lift cylinder (the cylinder that lifts the mower deck) was blown, and dripping onto it (pictured above.) I removed most of the lines coming out of the valve, and brought them to Sanel's machine shop to get replaced.

The lift cylinder on the 3 point hitch also came off. The cylinder hadn't been plumbed correctly anyway; there was no return line for the hydraulic fluid to "leave" through. Return fluid went backwards into the valve through the pressure line. The cylinder drips, and the pushrod is corroded. I took it to American Hydraulics in Bow, where Jeff helped me figure out what I could do to replace it. I think I found an adequate replacement cylinder online, but I may need his services yet to craft it into the cylinder I need!

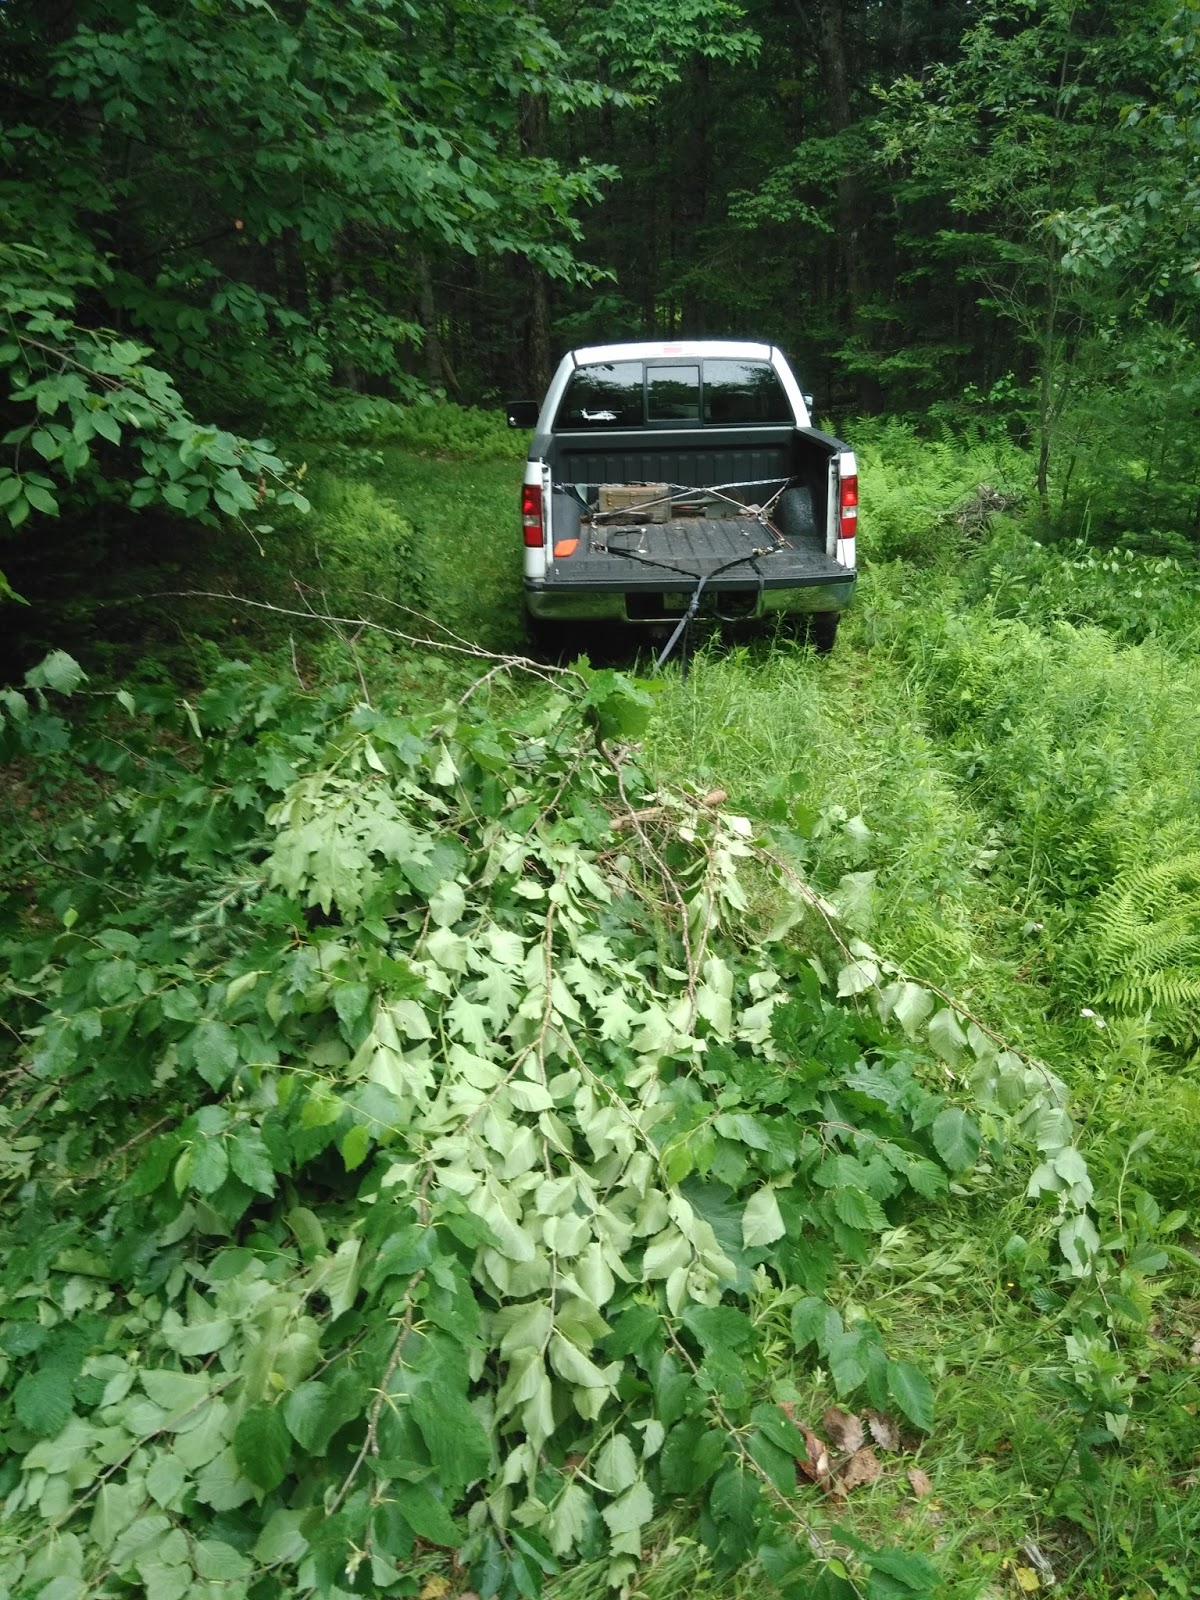
Once I'm done throwing parts and money at the 444, I will drive it onto the trailer and take it North (where it came from!) I'd like to use it for hauling brush, smoothing loads of gravel on the path in, and mowing out a section where the bus can park to keep some less-neighborly wildlife at a distance. 

Day 10382


I found it surreal, on this 10,382nd day of my life, to be working a beautiful parcel of land in the North Country of the great state of New Hampshire, on a New England summer day. My dog, Zeke, joined me as we were slowly eaten alive by ticks, deer flies, mosquitoes, and even some black flies. With temperatures in the low 80's, I wore shorts, leaving my unprotected legs well covered in cuts from prickers and jagged edges of limbed tree-branches. Sweat dripped into my eyes, and my glasses stayed foggy after wiping them off.

It was a blast. I was pinching myself.

I worked throughout the afternoon. My goal was to clear the brush around the old path to the field, so that a school bus might fit through. Not just any school bus, though; one covered in latex exterior house-paint, with solar panels on the roof and a chimney sticking out a window.


The pickup fit through the path with a few scraping branches, and I parked it in the field of tall weeds. I walked the path several times, visualizing the turns the bus would need to make (or a truck and trailer, for that matter.) I paid attention to the size of the trees; the big old trees weren't in the way, before. All these small trees encroaching on the path were new additions. After some debate about whether it wanted to start or not, I convinced the chainsaw to run (it's a new Stihl! What gives?) and took out a lot of trees in the 1" to 4" diameter range. There were a few nice yellow birches growing up, and I trimmed the brush in a way that these would be more prominent.


The branches between thumb size and leg size were diced up into foot long chunks, using an improvised tripod fashioned from a yellow birch trunk and a ratchet strap. I stacked the pieces in a pile in the sun, so I can have some good firewood in a few months. I would like to get a roll of clear plastic wrap, and make a little solar-powered kiln.


Lacking a tractor on the property at the moment, I dragged my pile of branches down the path with the truck and some ratchet straps. From here I unloaded them into a brush pile that felt a lot bigger than it looks...


It feels about four times that size... maybe more... that was a lot of brush!

Zeke and I took off on a walk around the property. The Spaniel enjoyed the stream.


A lot of the trees on the southern edge of the woods are yellow birches, with a good amount of white birches and sugar maples. 


We found several artifacts of human settlement on this old patch of dairy farm. Here, a birch and a rock meet, Mushrooms grow at the junction, and a spool of barbed wire rests on top.


With the brush out of the way, and small branches trimmed, the path was open again. If I don't get pulled over and impounded, and if I don't get stuck in the mud at the start of the driveway, and if the bus can make the last turn into the field at the stonewall... I should be able to get the bus in no problem!


Woods, field, stream... I would say I've found the pot of gold here in the North Country.


Day 10378

The past two days have been spent wiring the solar panels into the bus's electrical system. My primary references for this job were HandyBob's blog (this man is a wealth of knowledge; all the flakes of gold are buried in his entertaining rants about the solar industry,) and the manual for the TS-45 charge controller.

Here's how I did it...


The quick fix to the solar panel struts bowing out was to lock-wire them across (I did not have 6-8 wraps per inch, because it's a bus.) Now when the weight of the solar panels is on the struts, at the summer angles, the struts won't push through the angle mounts. It's not perfect, but it should work fine... until a wire snaps. 

As a quick aside, I may have learned the hard way that deep cycle batteries shouldn't be used to crank over a diesel;


I'm trying to breath life back into them with a trickle charge. This might be an expensive lesson...

With the panels mounted and mobile, I started wiring from the top down.


I used 6 gauge cable to wire each array of 3 panels, down to the bus roof.


The cable was clamped on the way to keep them from getting pinched, and slack was left on the roof to give me room to work later.


The two positive leads and two negative leads meet a positive and negative 4 gauge cable at the rooftop.


I have a fuse block on order, but in the short term I wired in a fuse to the hot leads, and taped the crap out of them to make sure everything works.

I was left pondering where and how I could punch a hole in the roof to send the 4 gauge cables through...


I had two of the cool little water-tight junctions left over from the panels, which the cable would fit through, but I didn't have a 13/16" holesaw. What I did have was a 3/4" holesaw and a round file.


With interior panels removed, I found a spot above the driver side window where there was no insulation; just layers of steel. I drilled some pilots holes, then hit it with the holesaw (energy to power the drill was provided by the inverter, from the batteries.) Then the file (energy to power me came from duck-egg french toast and a bowl of oatmeal.)


With the junctions installed, I pushed the cable through, and gave it a protective coating of spiral wrap.


Inside the bus, I mounted the Tristar TS-45 charge controller on the front-face of the electrical panel for easy access. The two wires go under the panel, and mount into the negative shunt (so the Trimetric can monitor solar panel output) and the positive stud. 


I routed the 4 gauge wires from the roof down the conduit behind the driver side window, and up into the charge controller.


Face-plate back on. The TS-45 is pretty-much the Bus's Flux Capacitor.

Everything is now wired... double-checked my work... The panels are still pointed north-east, and it's after noon on the longest day of the year (how appropriate) ... let's turn on the Trimetric and see if the panels are making power...


The panels are charging the batteries at 2.8 amps! I'd say that's pretty good considering they aren't even looking at the sun...


The bus now has wood or propane powered cook surfaces, wood or diesel heat, and diesel or solar electricity. 

Next project? A shelf.


Day 10376

Some much-needed leave was taken from work this week, in order to decompress and work on the projects I've had on the back-burner for months.

First up is the bus's solar panels. Some kind of phantom load is draining the batteries (two fresh ones, at that) so having panels operational will be a huge help in the field. As mentioned months ago, these six Siemens SP75 Panels will provide sufficient amperage to recharge the big bank of T105 batteries. Currently the bus has two "normal" diesel truck batteries; so the system will have no trouble keeping that smaller bank charged.

On the roof, I pondered for a while what the best way to mount the panels would be. I already had the base of the panels mounted on the edge of the roof; I wanted to finish building a set up that would allow me to change the angle of the panel to track the seasonal sun, but at the same time avoid perforated angle monstrosities. I wanted a design that could withstand strong northern winds when the panels are angled high in the winter, and easy to move every few months.

Before I get into the nitty gritty of "how" I did this, I'll give you, dear reader, the "why." Summer days are longer than winter days. In the summer, the sun rises in the northeast, climbs high in the southern sky, then sets in the northwest. In the winter, the sun rises in the southeast, stays low in the southern sky, and sets in the southwest. To capture the most amount of sun on any given day, the panels should be aimed true south, at the highest angle the sun reaches. This is where it gets cool; you know how the Earth rotates on it's axis about 23 degrees (hence seasons?) The angle of the sun at noon is just the latitude line you are on, plus or minus 23 degrees for the season. For me, I planned on the bus being up North; 45' Latitude gives me about 68 degrees in the summer, and 22 degrees in the winter. I need to make a mount for my panels so that I can move them between 22 degrees from vertical on the winter solstice, to 45 degrees on the spring equinox, down to 68 degrees on the summer solstice, then back down to 45 degrees for the autumn equinox.

The panels were already wired in groups of three, which I kept together for the install on the roof. Panels 1 & 2 feed into 3, which has the output wires. Likewise, panels 5 & 6 feed into panel 4. With aluminum scrap I mounted the tops of panels 1, 2 & 3, and panels 4, 5 & 6, together. Now I have two banks of three panels. Not only is lifting three at a time much easier than lifting all six, but I could take one bank "down" for maintenance while the other one keeps collecting rays at half power.


To keep a clean, low-drag appearance, I used 1/4" steel rod, bent in a vise, to prop up the panels. At the ends, and center point of the rod, I slid on 3/8" OD spacers. I mounted a perforated angle mounting foot at the center bushing of the rod. At the very ends of the rods I drilled holes for cotter pins to keep the rods bent "out" where they meet the perforated angle on the panels. It turns out I didn't think that one through, though, as the heavy panels do a good job compressing this springy rod, making it sit at the bend, not at the bushing. Reality wasn't agreeing with my design! I think I have a fix for it, stay tuned...


I cut a fresh piece of perforated angle into 2' chunks, then used the remaining perforated angle "feet" I had crafted months ago, to mount the chunk tangent to the bus roof. That one sentence summarizes hours of work sketching, observing, and playing with the parts I had available. I doubled up the mounting feet, as the loads are not just "down" on this piece, but in, out and up, depending on what "season" the panel is mounted in. The feet were all mounted by drilling starter holes in the roof, applying a liberal amount of RTV, then screwing in sheet metal screws.


By removing the two bolts, the angled foot of the bent rod can be adjusted up and down the length of the track, giving me something like 12 degrees "full out" to about 75 degrees "full in." In theory, I could adjust this as often as I want to in order to keep the panels facing the sun.


Both banks in the full out position, gathering some non-existent eastern sunlight! Given the shape of the parent's yard, I don't think I'll really be able to test this system until I drive it up North and park it in a field, with the panels facing South.

I love the asymmetric look of the roof, with the chimney. If you like asymmetric, utilitarian vehicles, you might be a helicopter mechanic...


Aft bank in the full down position. I was trying to get the front bank down as well, but the support rods were pushing past the bushings, as mentioned earlier. I think I can fix that by keeping tension on them with a line of lockwire.

Tomorrow, I think I will continue this project with the solar panels-to-bus wiring, the installation of the Tristar charge controller, and the repair of the "DC battery bus" after I inadvertently pulled out a plug. 

I will leave you with Day 10374's project; removing the old engine oil filter from the F350. It's all that I accomplished that day. It was brutal.


Day 10366

Another step of "the Plan" was crossed off this month. I made an offer on the land described in the last post, and after some negotiation, it was accepted. Having closed, I am now the proud owner of some 20+ acres of old dairy pasture and mixed forest.


My search criteria didn't seem complicated; I wanted more than 10 acres of land, and I wanted it for less than $100,000. I wanted a water source, a variety of wood, and some fields would be nice. The workable parcel ought to be close to family up North, or close to work down South. A compromise would make for a long commute over the next few years and lack of family nearby (less than ideal.) Ultimately, I decided to trust my gut and buy up North in the mountains and hills, and not in the South, which is growing busier and more congested by the year. I must have toured two dozen properties over the past few years... possibly more that I've forgotten.

The biggest thing I learned was that there is a reason that cheap land is cheap. Fifteen minutes on Google can save two or three hours of driving, burning gas, and hiking through the woods. The terrain feature on Google Maps saved me from ascending many cheap cliffside properties, and helped in identifying such infrastructure as highways, high-voltage transmission lines, waste treatment plants, snowmobile trails, and even power substations. Ultimately, I did find land that was cheap for a reason, but for a reason I would be able to tolerate for the price!

I figure that the more workable land I get for my dollar will save me, later. On a 5 acre plot, I would not have enough trees to build a home, and heat it with wood from the lot. With 10 acres of land that becomes more realistic. Being patient and finding enough land would save me down the road in buying outside resources.

My search parameters changed as I learned how to search for property, through trial and error. One plot in Canterbury had everything I was looking for, but I learned that the rules for buying land were different from those of home-buying. I couldn't afford the $150,000 land purchase without a significantly larger down payment than an equally priced home, which would take a few more years of saving. I lowered my "maximum price" to $100,000. Not only was this a better financial decision, but it trimmed my list of candidates down to something more reasonable. I also found a map from 2009 with every town's property tax rates, which, even if it is slightly outdated, provided a handy guide for which towns I didn't want to pay to live in!

I'm thankful that one of my pilots was my realtor; someone that understood my slightly unorthodox needs, and was patient through the search. He was happy to send in my offers which included owner financing. Sadly, the former owner did not accept my offer, and a bank will be making the thousands or dollars that he could have made. Now the name of my game will be paying off the mortgage as fast as possible to pay the bank as few of my dollars as I can.

The amount of interest I'm paying, the rates of the loan, and the terms of the loan are another rant entirely. My goal here is to pay off the land quickly, and return to a debt-free status while still having enough cash on hand to buy and build as needed. I find the banking system doesn't like to deal with a land purchase of this size. I asked my bank of choice for a 10-year fixed rate loan, and they wouldn't do it (good credit, money down; won't do it.) And yet, as long as you secure a loan with no prepayment penalty, a 20-yr loan can easily be made into a 10-yr (or even a 6-yr!) by paying against the principal. You just don't tell the bank that you're going to do that. I don't feel like I should have to hoodwink a bank in order to get a reasonable loan. The former owner was seeing traps in owner-financing, despite the assurances of both realtors, and the bank wants their interest. Trust is hard to come by.

What a lame post, huh? No pictures.


This is my buddy Gavin's new tractor, a beautiful 1971 Massey Ferguson MF-20 Industrial Loader (we think!) It was generously handed down to him by his grandfather, David, who gave us a tour of the family's farm in the White Mountains. In the coming weeks Gavin and I will do the maintenance to get it running again, and trailer it to Gavin's house.


I finally got the solar panels mounted on the roof of the bus, after five months of waiting for a day off without rain in the forecast. Wanting a nice even line, and a low profile, I used a square to measure 18" from the "rail" of the bus roof, and drilled the holes for each mount one at a time, as I mounted the panels.


Once all the mounting feet were in place (as pictured,) I loosened all of them, applied a liberal amount of RTV, and then snugged all of them to the bus skin. The panels are installed in their proper order, now they need a mechanism to hold them upright, and to be wired into the bus's battery system.


Projects are on hold at the moment, as I'm out of country with the Unit on mission for a few weeks. I think it's about time to burn some leave, at work.